
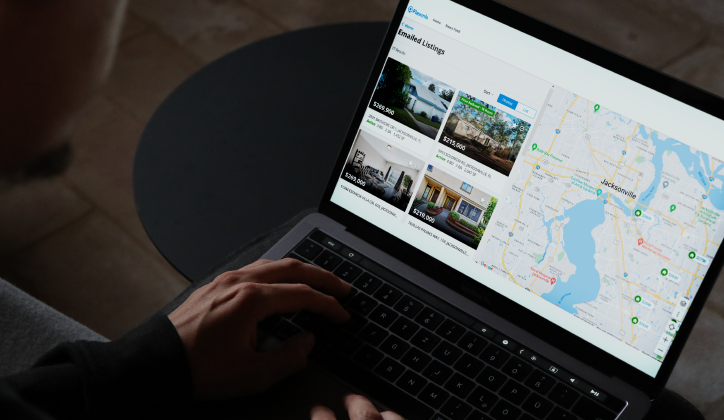
Setting up a client Portal creates a personalized MLS website to collaborate with your clients. With this tool, your clients can conduct their own searches, view listings and offer feedback on the properties they’re interested in.
Setting Up a Portal in Flexmls
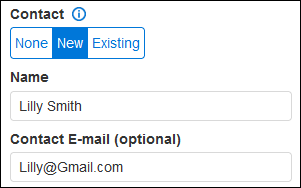
To set up a Portal for a new client, start by creating a Quick Search. Once you’re ready to save, add your client’s name and email address under a New contact.
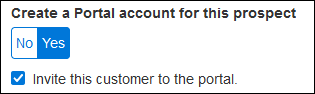
Next, make sure to create a Portal account for this prospect by turning their Portal on. Additionally, you want to select Invite this customer to the portal. Then, your client can set up their own password via the email invite to log into your Portal website at any time.
Once you click Save, the Search will be saved, and a Portal Invitation email will be sent to your client.
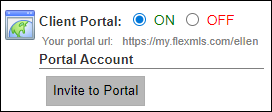
You can also create a Portal within Contact Management. Select your contact and visit the Portal tab. Turn their client Portal On, then click Invite to Portal to send the invitation to create a password for your Portal website.